The Google Apps suite is available to everyone at Kenyon, making it a powerful teaching, learning and collaborating tool. Below are tips for making your documents easier for everyone to work with.
Use Headings Effectively
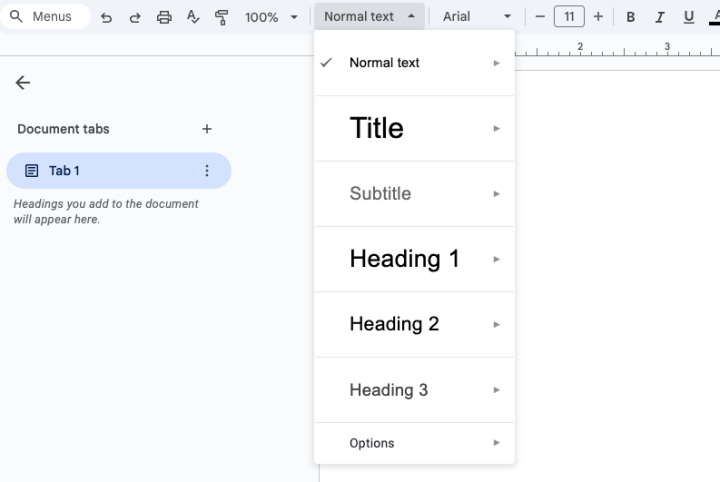
It can be tempting to set off the sections of a document by changing the font size and color, but there are many benefits to using the "Headings" feature. Headings in Google Docs are in the formatting bar and default to "Normal text."
Why Use Headings?
Headings are recognized by screen readers, enabling visually impaired users to navigate documents easily. They also generate a handy table of contents in the left navigation pane, helping any reader locate sections quickly, including those with cognitive, attention or language challenges.
Customizing Headings
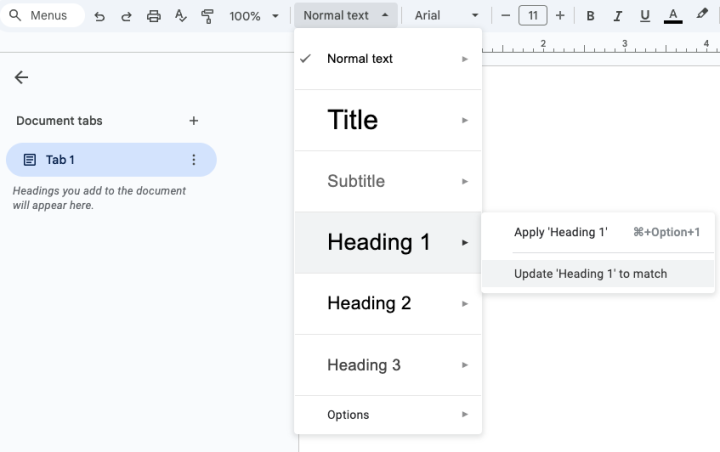
You're not stuck with the heading styles Google picked! If you want a heading to look different, simply select the text, format it to your liking, then choose "Update '(Heading Name)' to Match" from the styles menu. This will change all existing uses of that heading
Link Directly to Headings
Google Docs allows you to create direct links to specific headings. Just search for the heading as you create the link in the text. This is great if you want to refer to a different part of the document.
Explore the New 'Tabs' Feature
If you're familiar with headings, you might want to try Google Docs' new tabs feature. Tabs allow you to organize your document into distinct sections; they're similar to headings but have some specific benefits.
- Page breaks: Tabs have page breaks separating them from the surrounding sections.
- Custom Naming: Headings have the same text in the navigation and on the page; tabs can have their own names.
- Collapsible Sections: In a long document, you can end up with a lot of headings to scroll through. The reader can collapse all the headings in a tab, to make scrolling the outline easier.
- Reorder Easily: You can drag-and-drop tabs to reorder your document, without the risk of losing writing in a cut-and-paste mistake.
Note: You can currently download or print tabs only one at a time.
Add Alt Text to Images
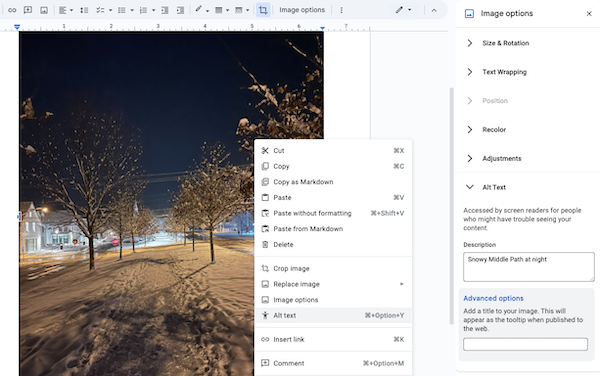
Alt text ensures that images in your document are accessible to users who rely on screen readers. It can also make your documents easier to search. To add alt text, either right-click the image and click "Alt text" in the pop-up menu, or select the image and click "Image options" in the formatting bar at the top of the page.
-
Use the Description Pane: When adding alt text in Google Docs, use the "Description" field rather than the "Title" field. The "Title" field does not export correctly to other formats like Word and PDF.
-
Helpful Tool: Arizona State University offers an Image Accessibility Generator that uses AI to help craft effective alt text descriptions. You do still need to review this text; it can be a little wordy, and in our testing, it sometimes fabricated incorrect details about the background of photos. Still, it's remarkably good at describing the main figures in an image, the general context, and extracting any visible text.
Install the Grackle Docs Plugin
Grackle Docs is a powerful plugin for assessing and improving the accessibility of your Google Docs. It identifies accessibility issues and offers suggestions for fixing them. While not every suggestion is necessarily relevant to every document, it's a good tool for prompting you to think about whether you could reach more people with a few formatting changes.
Type and Edit with Your Voice
In Chrome, Safari, and Edge, you can enable your microphone to compose and edit your document by voice. If speaking is more accessible than typing for you or people you know, voice recognition might be a solution.